Renovating your home is exciting—you get new walls, fresh paint, upgraded kitchens, or modern bathrooms. But once the contractors leave, what remains is usually far from clean. Fine dust, construction debris, paint splashes, and hidden residue settle everywhere, making your home unsafe and uncomfortable to live in.
That’s why post-renovation cleaning is not just a final touch—it is a necessary process to turn a construction zone into a livable, healthy home.
In this guide, you’ll learn a complete step-by-step process to clean your home after renovation, especially suitable for busy Chicagoland households dealing with dust-heavy construction environments.
Why Post-Renovation Cleaning Is So Important
Renovation work creates a level of mess that regular cleaning cannot handle.
Common leftovers include:
- Fine drywall dust
- Cement particles
- Paint splashes
- Wood shavings
- Adhesive residue
- Packaging waste
Why this matters:
These materials can affect:
- Indoor air quality
- Respiratory health
- Cleanliness of new surfaces
- Overall comfort in your home
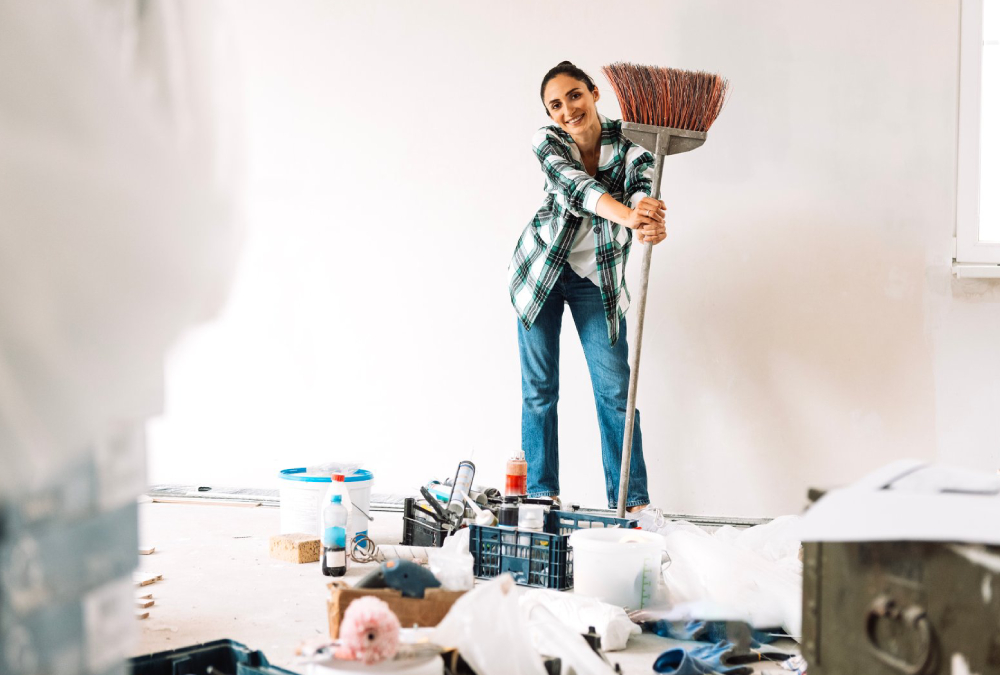
Step 1: Remove Large Debris First
Start with visible and large construction waste.
What to remove:
- Wood pieces
- Plastic coverings
- Cardboard boxes
- Nails, screws, and packaging
- Broken materials
Why first:
It clears space and makes deep cleaning easier and safer.
Step 2: Dry Dusting All Surfaces
Before using any water, remove dry dust.
Areas to focus on:
- Walls and ceilings
- Window sills
- Cabinets
- Shelves
- Light fixtures
Tools to use:
- Microfiber cloths
- Soft dusters
- HEPA vacuum cleaner
Important tip:
Do not use wet cleaning first—dust will turn into sticky residue.
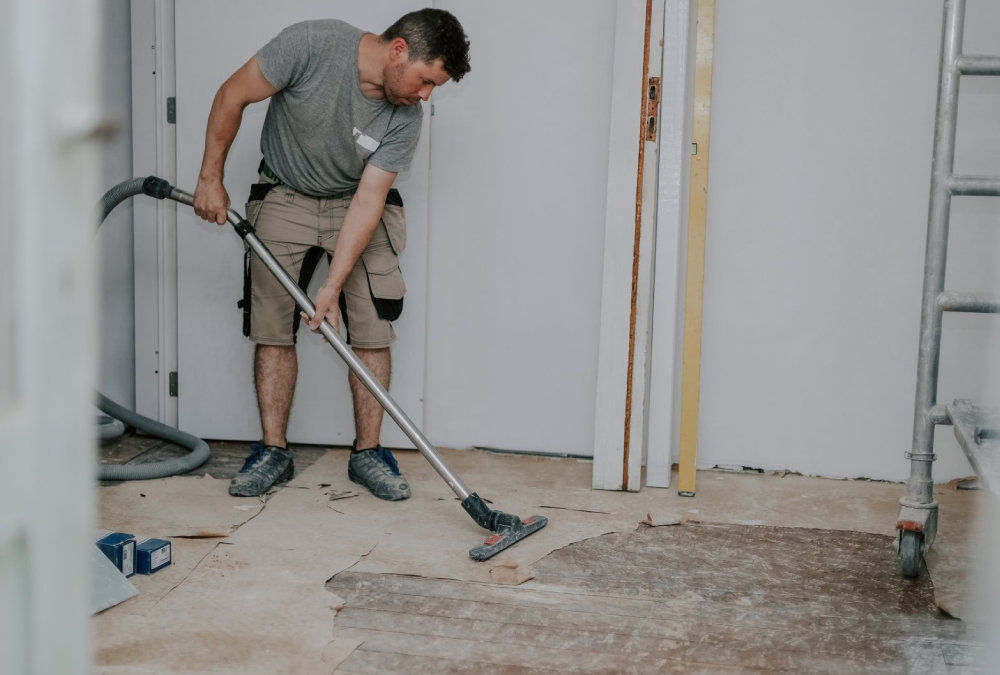
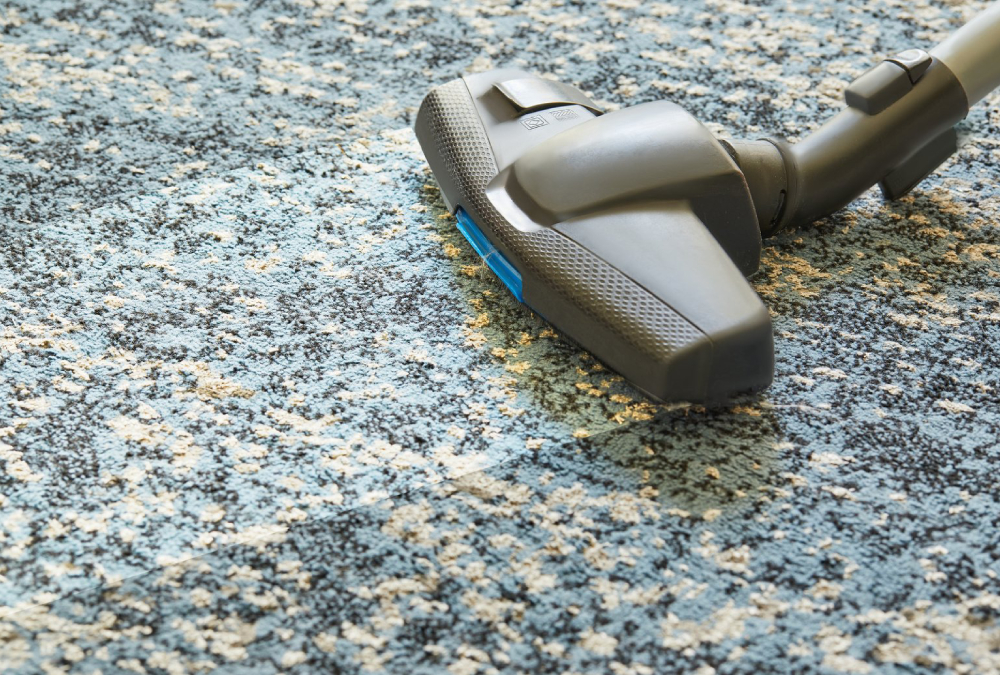
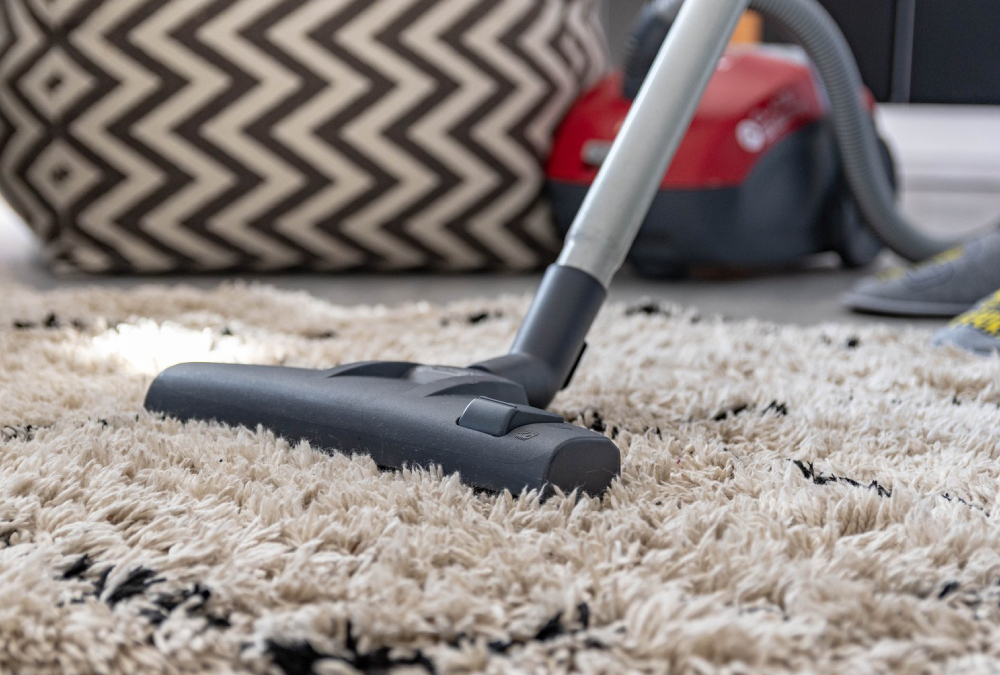
Step 3: Vacuum Every Corner Thoroughly
Construction dust is extremely fine and settles everywhere.
Vacuum areas include:
- Floors (multiple passes)
- Carpet edges
- Behind furniture
- Corners and baseboards
- Staircases
Best practice:
Use a vacuum with a HEPA filter for best results.
Step 4: Clean Walls, Doors, and Trim
Renovation dust sticks to vertical surfaces too.
What to clean:
- Painted walls
- Doors and handles
- Baseboards
- Corners and edges
Method:
- Lightly damp microfiber cloth
- Gentle cleaning solution if needed
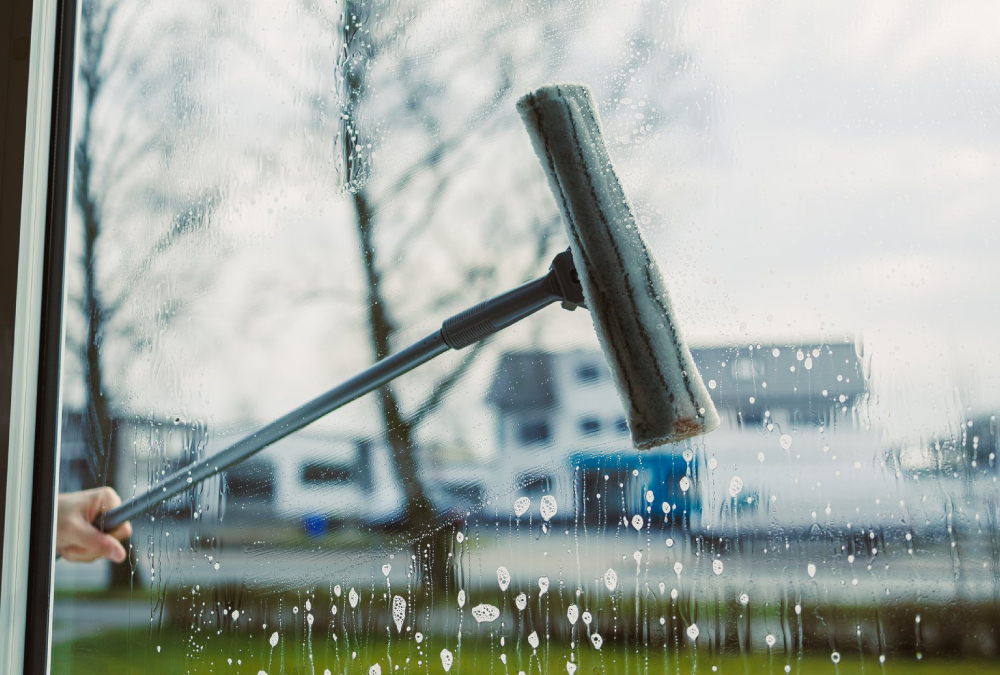
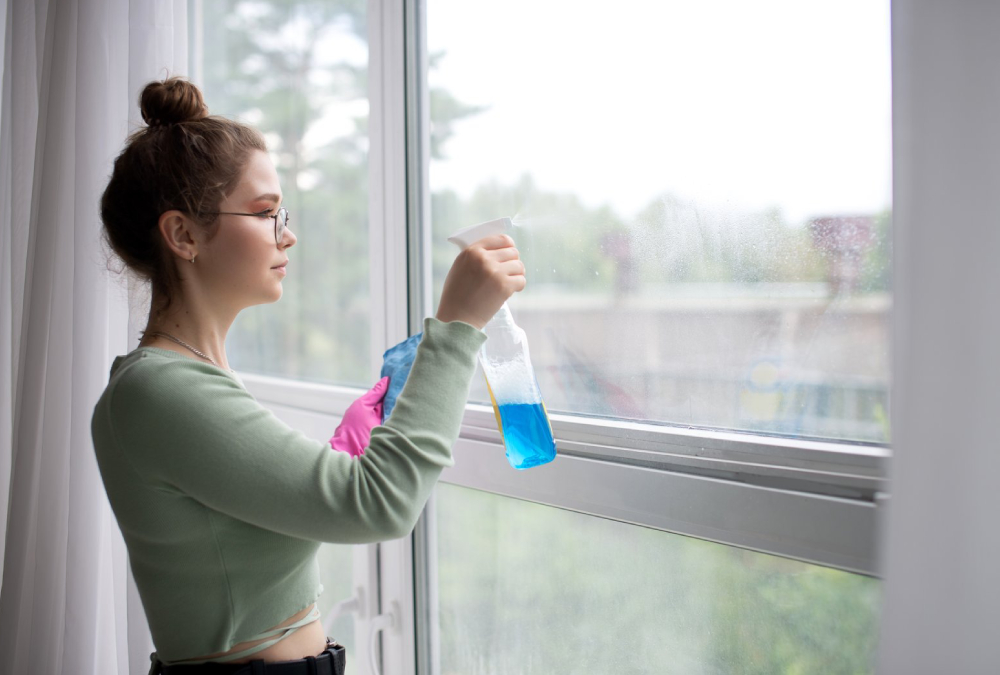
Step 5: Window and Glass Cleaning
Windows often collect heavy dust and smudges during renovation.
Steps:
- Clean window frames first
- Wash glass with streak-free solution
- Use squeegee for smooth finish
- Clean tracks and corners
Why important:
Construction dust makes windows appear cloudy and dull.
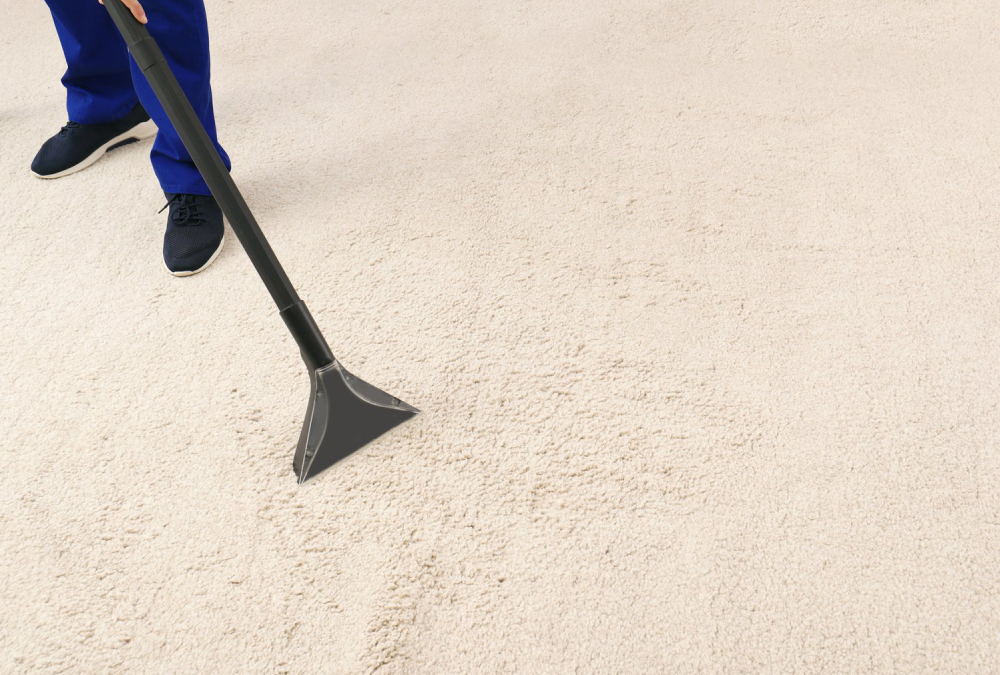
Step 6: Deep Clean Floors
Floors carry the heaviest construction residue.
Hard floors:
- Sweep thoroughly
- Mop with mild cleaning solution
- Repeat if residue remains
Carpets:
- Vacuum multiple times
- Use steam cleaning if needed
- Remove deep dust and odor
Step 7: Clean Kitchen Areas Thoroughly
Renovated kitchens need special attention.
Checklist:
- Wipe cabinets inside and outside
- Clean countertops
- Sanitize sink and faucet
- Clean appliances (oven, fridge, microwave)
- Remove adhesive or paint marks
Step 8: Bathroom Deep Cleaning
Bathrooms often collect dust and construction residue.
Tasks:
- Scrub tiles and grout
- Clean toilet, sink, and bathtub
- Remove paint or cement spots
- Disinfect all surfaces
- Clean mirrors and fixtures
Step 9: Air Vents and HVAC Cleaning
Construction dust spreads through air systems.
Steps:
- Replace air filters
- Clean vent covers
- Dust surrounding HVAC areas
Why important:
Prevents dust circulation inside your home.
Step 10: Furniture and Upholstery Cleaning
Soft surfaces trap fine dust easily.
What to do:
- Vacuum sofas and chairs
- Clean cushions
- Remove dust from fabric surfaces
- Air out furniture if possible
Step 11: Final Dust Check
Even after cleaning, fine dust may remain.
Check areas like:
- Corners of rooms
- Behind doors
- Under furniture
- Light fixtures
Tip:
Use a white cloth to detect leftover dust.
Step 12: Air Purification and Ventilation
After cleaning, refresh indoor air.
Steps:
- Open windows for airflow
- Use air purifiers if available
- Allow fresh air circulation
Benefits of Proper Post-Renovation Cleaning
1. Healthier Indoor Environment
Removes harmful dust and particles.
2. Improved Air Quality
Prevents respiratory issues and allergies.
3. Protects New Surfaces
Ensures new finishes stay clean and damage-free.
4. Better Visual Appearance
Makes your renovation truly shine.
5. Safe Living Space
Removes sharp debris and hidden hazards.
Common Mistakes to Avoid
1. Using water too early
Turns dust into sticky residue.
2. Skipping vacuuming
Leaves fine dust behind.
3. Ignoring hidden corners
Dust continues to build up.
4. Rushing the process
Leads to incomplete cleaning.
Final Thoughts
Cleaning your home after renovation is a detailed, multi-step process that requires patience and proper technique. In Chicagoland homes, where construction dust can be especially heavy, following a structured approach ensures your home becomes safe, fresh, and fully livable.
A proper post-renovation cleaning ensures:
- Dust-free living spaces
- Healthy indoor air
- Clean and protected surfaces
- A fully finished home environment
In short, renovation builds your dream space—but cleaning makes it livable.