After any construction or renovation project, one of the biggest challenges homeowners face is dealing with the leftover dust and debris. In Chicagoland homes especially, construction dust spreads quickly and settles everywhere—on floors, walls, furniture, vents, and even inside hidden corners you don’t notice at first.
This dust is not normal household dust. It is much finer, heavier in volume, and often contains materials like drywall particles, cement powder, wood fibers, and paint residue. If not cleaned properly, it can linger for weeks and affect your indoor air quality and comfort.
This guide explains a complete, practical method to safely and effectively remove dust and debris after construction.
Why Construction Dust Is So Difficult to Remove
Unlike regular dust, construction dust:
- Is extremely fine and lightweight
- Settles in hidden areas quickly
- Spreads through air circulation
- Sticks to surfaces due to moisture or paint particles
Common sources include:
- Drywall sanding
- Tile cutting
- Wood cutting
- Cement work
- Painting and plastering
Step 1: Wear Proper Protection First
Before starting any cleaning, safety is important.
Use:
- Dust mask or respirator
- Gloves
- Protective eyewear
Why:
Construction dust can irritate eyes, skin, and lungs.
Step 2: Open Windows for Ventilation
Start by improving airflow in the space.
Do this:
- Open all windows
- Turn on exhaust fans
- Use cross-ventilation if possible
Benefit:
Helps remove airborne dust and improves air quality during cleaning.
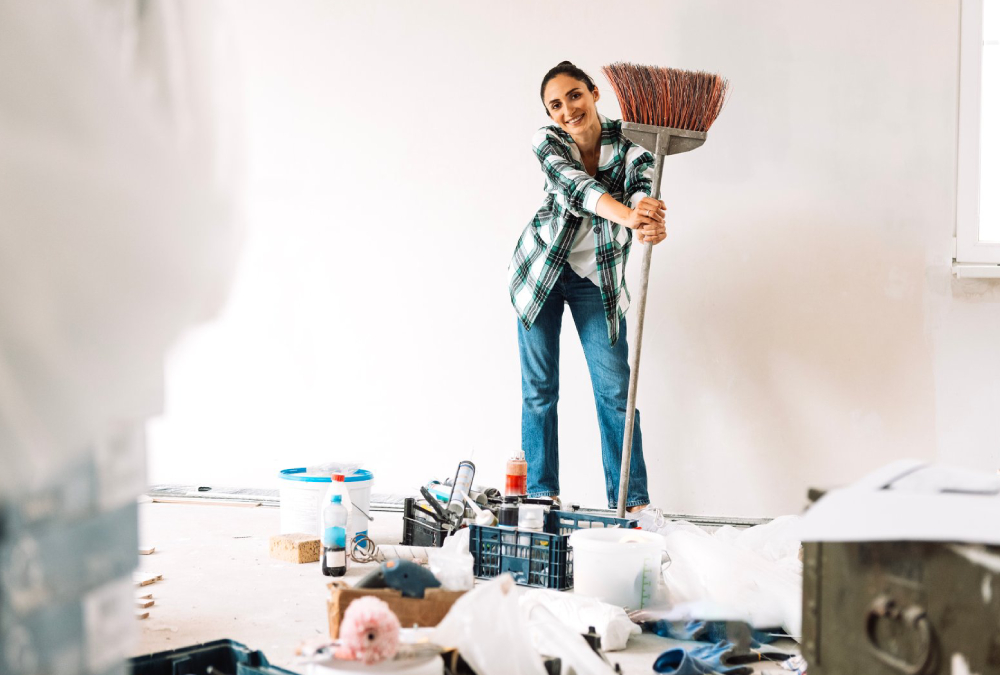
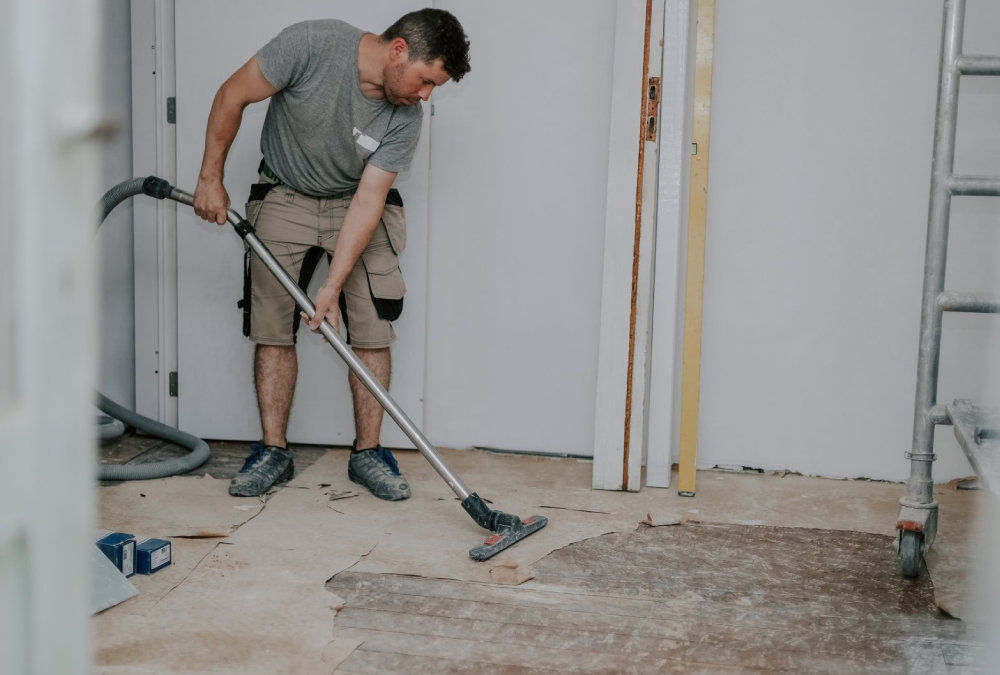
Step 3: Remove Large Debris First
Begin with visible waste and leftover materials.
Examples:
- Wood pieces
- Plastic coverings
- Nails and screws
- Packaging materials
- Drywall chunks
Why first:
Clearing debris makes fine dust cleaning easier and safer.
Step 4: Dry Dusting All Surfaces
Never start with wet cleaning.
Clean:
- Walls
- Ceilings
- Cabinets
- Shelves
- Doors
Tools:
- Microfiber cloths
- Soft dusters
- Dry mop heads
Tip:
Always clean from top to bottom so dust falls downward.
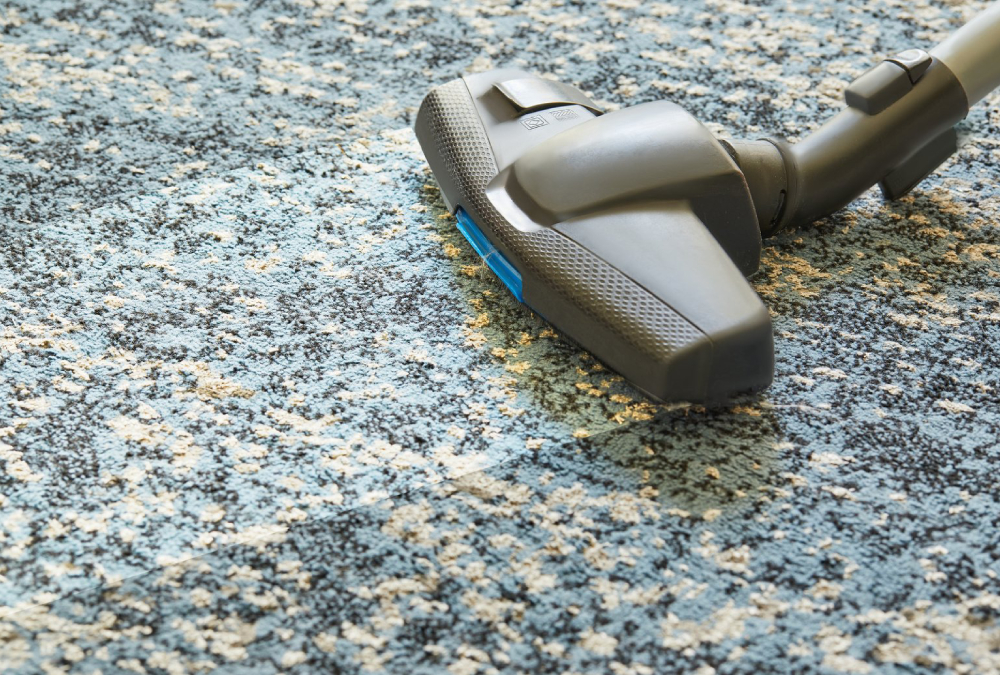
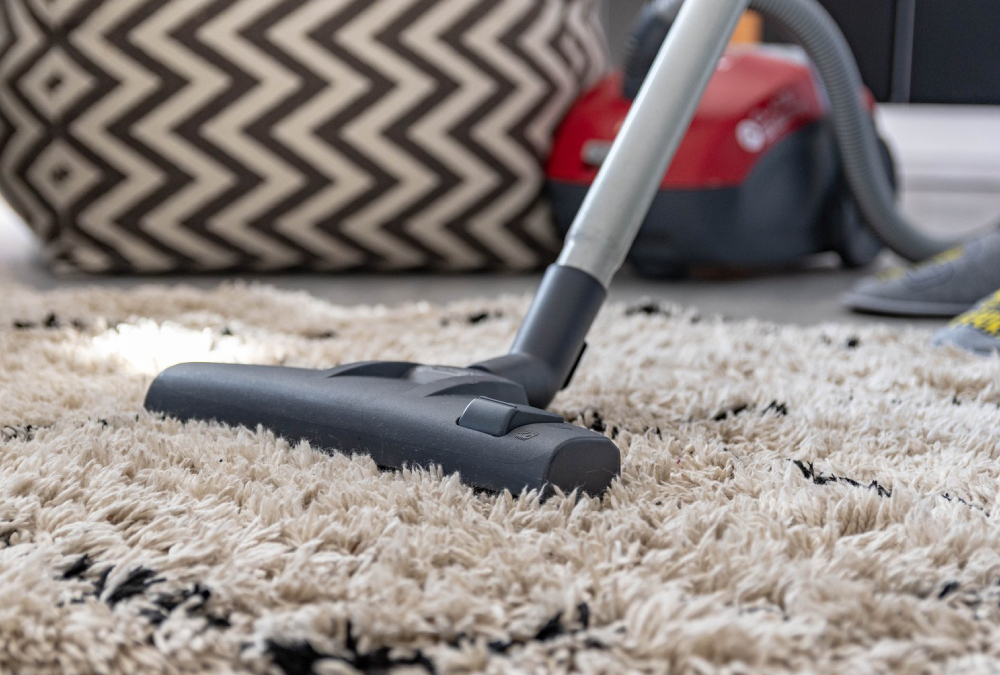
Step 5: Vacuum Thoroughly Using HEPA Filter
Vacuuming is the most important step.
Focus areas:
- Floors
- Carpets
- Corners and edges
- Under furniture
- Staircases
Why HEPA vacuum matters:
It traps fine construction dust instead of releasing it back into the air.
Step 6: Clean Walls and Vertical Surfaces
Dust sticks to walls more than people realize.
How to clean:
- Use a slightly damp microfiber cloth
- Wipe gently in sections
- Avoid soaking painted surfaces
Areas to focus:
- Painted walls
- Door surfaces
- Baseboards
- Light switches
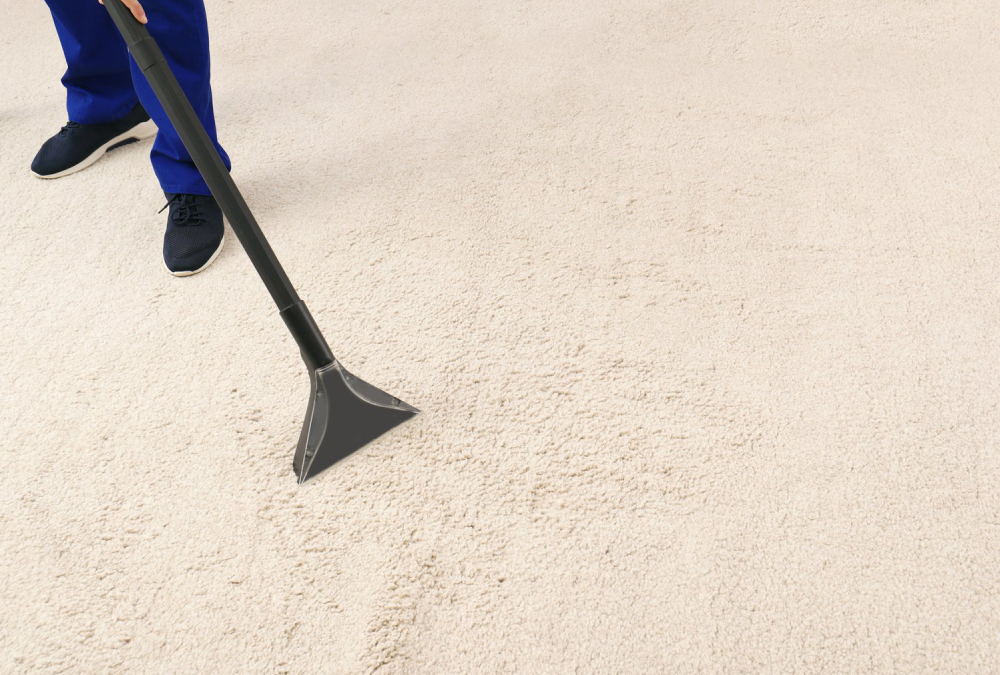
Step 7: Deep Clean Floors
Floors carry most of the construction residue.
Hard floors:
- Sweep thoroughly
- Mop with mild cleaner
- Repeat if residue remains
Carpets:
- Vacuum multiple times
- Steam clean if necessary
- Remove deep embedded dust
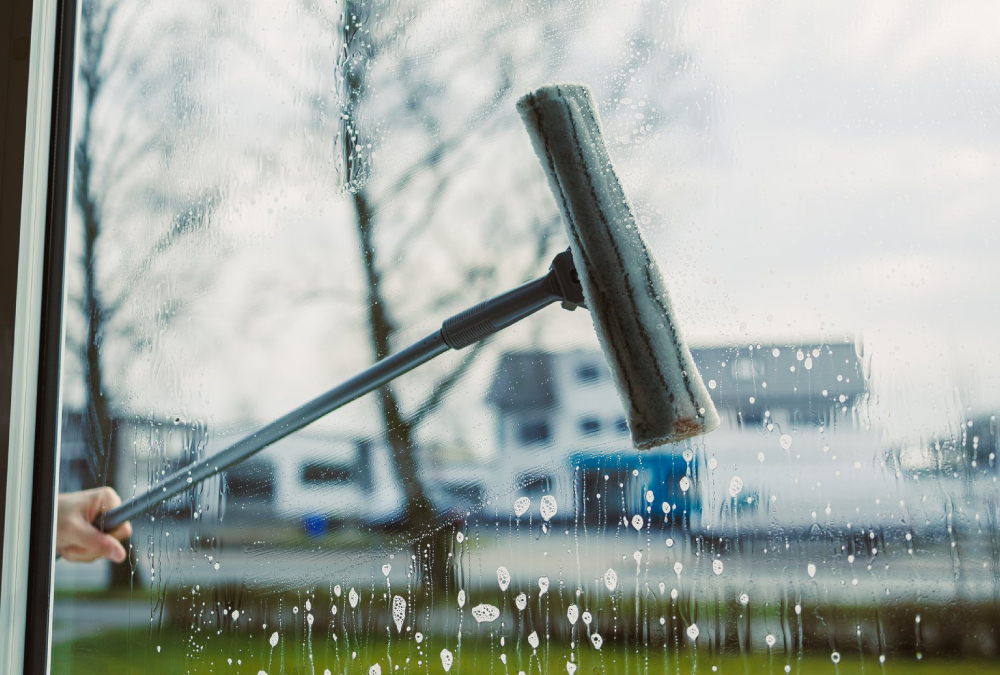
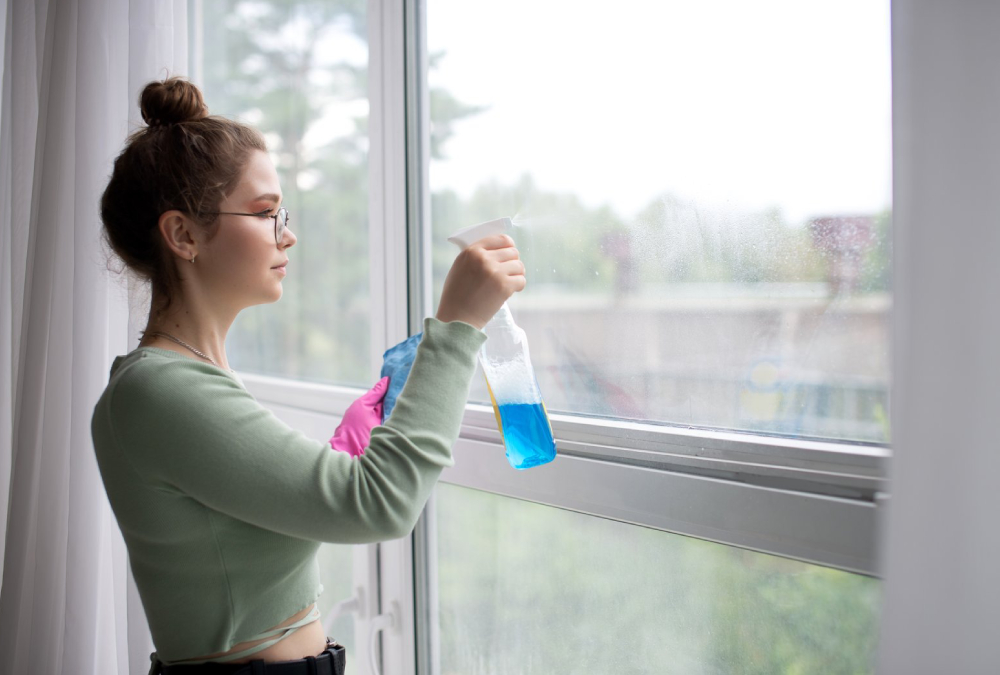
Step 8: Clean Windows and Glass Surfaces
Windows are major dust collectors during construction.
Steps:
- Clean frames first
- Wash glass with streak-free cleaner
- Use squeegee for finish
- Wipe corners and edges
Step 9: Clean Air Vents and HVAC Systems
Dust often enters ventilation systems.
What to do:
- Replace air filters
- Wipe vent covers
- Clean surrounding areas
Why important:
Prevents dust from circulating again inside your home.
Step 10: Clean Furniture and Upholstery
Soft surfaces trap fine dust easily.
Steps:
- Vacuum sofas and chairs
- Clean cushions
- Wipe hard furniture surfaces
- Air out fabrics if possible
Step 11: Kitchen and Bathroom Deep Cleaning
These areas need special attention after construction.
Kitchen:
- Clean cabinets inside and out
- Wipe countertops
- Sanitize sink and appliances
Bathroom:
- Remove dust from tiles and grout
- Clean mirrors and fixtures
- Disinfect surfaces
Step 12: Final Detail Cleaning (Hidden Areas)
Construction dust settles in hidden places.
Don’t forget:
- Behind appliances
- Under furniture
- Inside corners
- Ceiling edges
- Light fixtures
Step 13: Air Purification and Final Reset
After cleaning, refresh your home environment.
Do this:
- Run air purifiers
- Keep windows open for a few hours
- Replace final air filters if needed
Benefits of Proper Dust Removal After Construction
1. Healthier Indoor Air
Reduces respiratory irritation and allergies.
2. Cleaner Living Environment
Removes hidden dust from every surface.
3. Protects New Finishes
Prevents damage to paint, floors, and fixtures.
4. Improves Comfort
Makes the home feel fresh and livable.
5. Prevents Long-Term Dust Recirculation
Stops dust from returning through HVAC systems.
Common Mistakes to Avoid
1. Using water before dry cleaning
Turns dust into sticky residue.
2. Skipping vacuuming
Leaves fine particles behind.
3. Not cleaning vents
Causes dust to return repeatedly.
4. Rushing the process
Results in incomplete cleaning.
Final Thoughts
Removing dust and debris after construction is a detailed and multi-step process that requires patience and the right techniques. In Chicagoland homes, where construction dust can be heavy and persistent, a structured approach ensures a clean, safe, and comfortable living environment.
A proper post-construction dust removal process ensures:
- Clean air
- Dust-free surfaces
- Safe indoor environment
- Long-lasting cleanliness
In short, construction may create the space—but proper dust removal makes it truly livable.